Monday, 6 July 2026

another destash and June's sewing

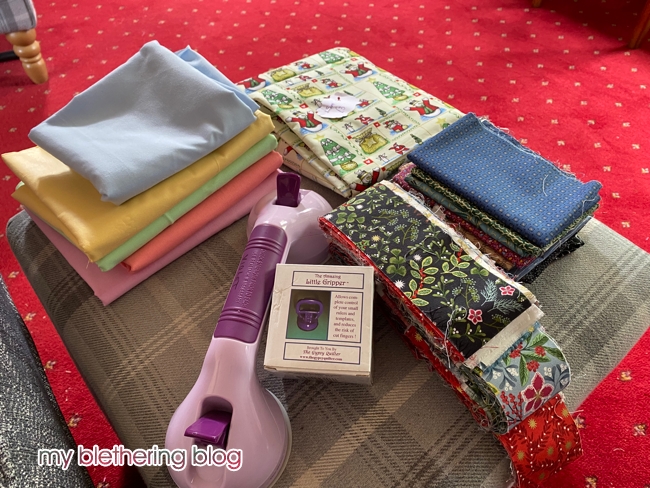
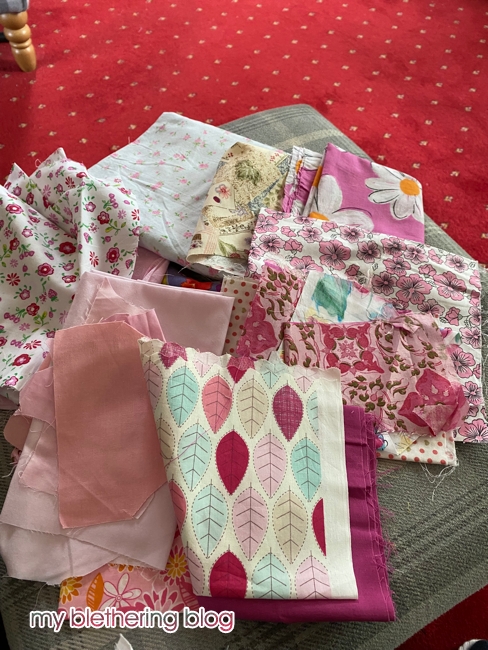
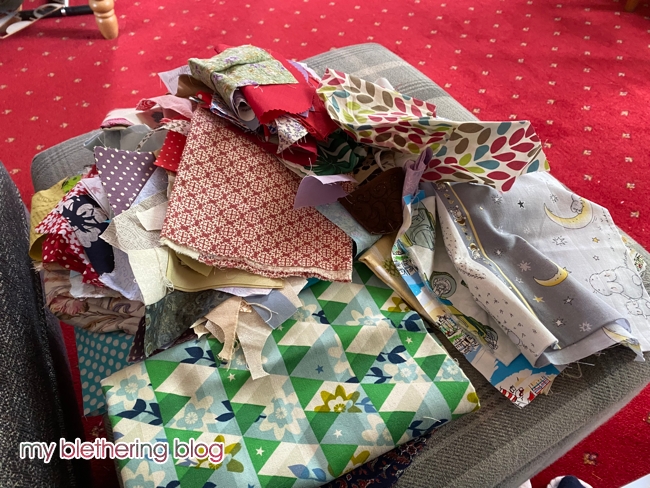
Way back in May, Jo and I headed to another destash event in a nearby town. Needless to say we bought lots of stuff ... and had a great time doing it! Here are just a few pics of what I got.

A partly used - hardly used, to be honest! - jelly roll, some fat quarters, larger pieces of plain fabrics, a large piece of Christmas fabric and some ruler holders.

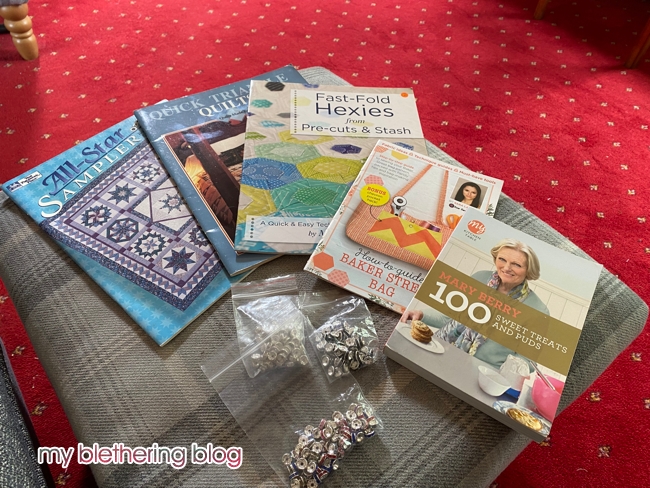
A few books and some fancy beads.

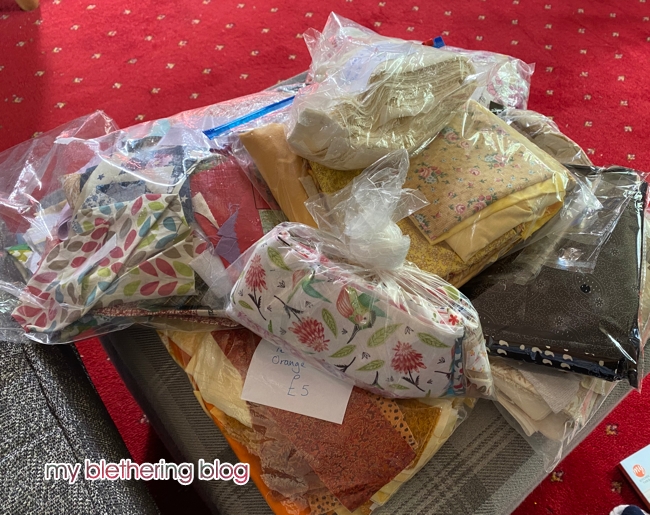
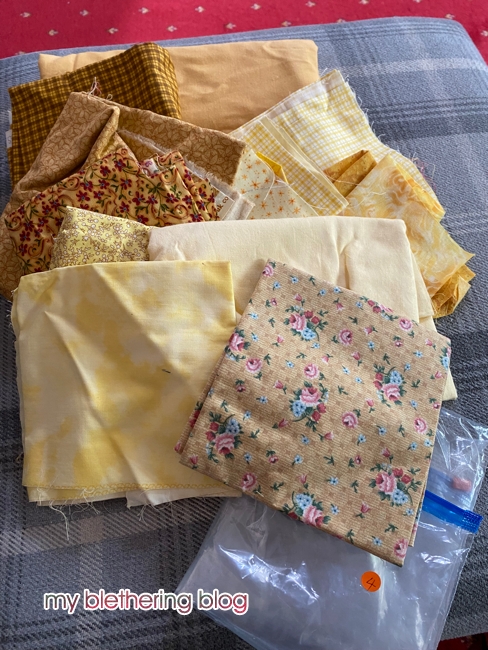
Lots ...

and lots ...

and lots ...

of fabrics.

Jo has just told me that there's another destash in October. I'd better get using this lot so I can justify buying more! LOL

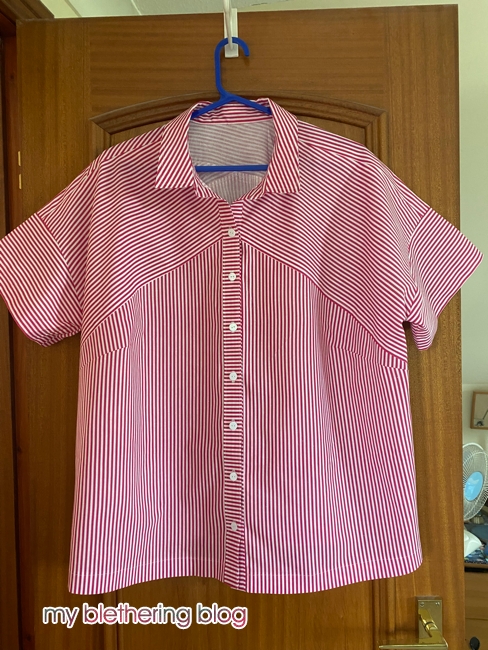
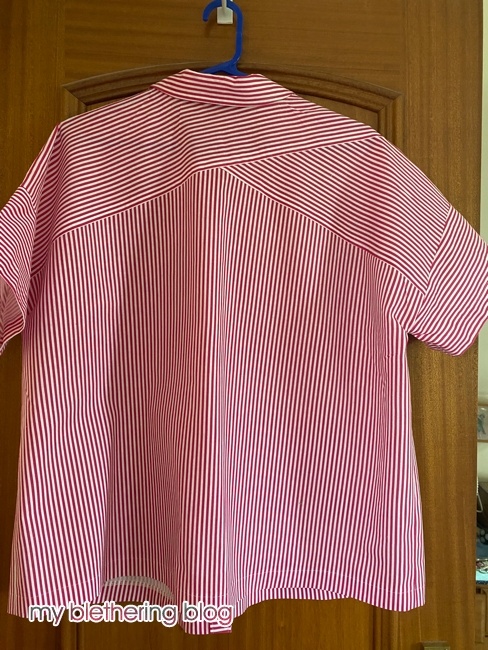
In the sewing for June, I only made 3 things to wear. First of all another Rivi shirt as shown in the last two posts. I'll repeat myself and say I just love the way the stripes run on the front and back yokes!

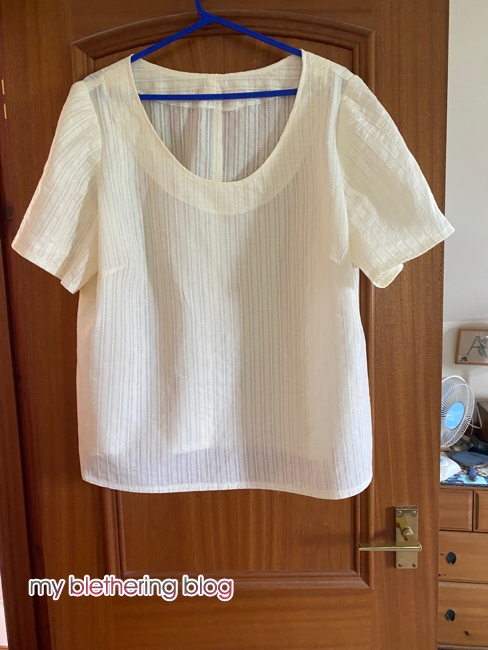
Next I made a couple of tops to wear with the tiered skirts I made in April. These are both from an old pattern - probably well out of print - Simplicity 2599. Both are fabrics I bought in Canada last summer. First a cream cotton with lines of light embroidery on it.

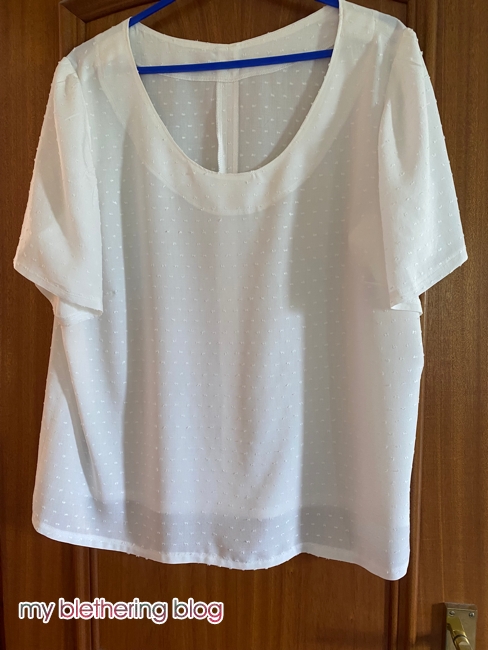
The second one is a very lightweight dobby spot in an ivory cotton. Both are lovely to wear and are already part of my summer wardrobe.

I said that I only made 3 things to wear. I also spent a lot of time making blocks for a long term project. I'll keep those for another blog post!

Thursday, 11 June 2026

May - the month of the skirt ... and other things!

I started off May by making another Rivi blouse from Chalk and Notch. This is made with the other side of the downie cover I talked about in last month's post. Don't you just love the way those stripes make the blouse so fun? I do!

Next I made a poo bag holder for Jo - or is it for Tilly?? The one she was using was looking the worse for wear so it was an easy job to make another one.

Talking of things looking the worse for wear, my two main pincushions were definitely looking tatty. I dug back through my blog and found I'd made them in 2017 so, considering they are used every single time I sew, there was definitely no shame to them! Here's what they look like now. I used some sewing fabrics and made a 4 patch for both of the tops. They are already in use!

I decided I wanted to make myself a tiered skirt but didn't have a pattern and didn't want to pay for one. Have you seen the price of sewing patterns these days? Goodness me, they're so expensive!

Anyway, I had a tiered skirt in my wardrobe that I'd bought a couple of years ago and I liked the length of it - 30" approximately. So, I decided I'd make mine with 3 tiers of 10". I did some measuring of my waist and calculated what I'd need for each tier by doing some sums. (Once a mathematician, always a mathematician!)

After a lot of gathering and stitching and elasticating of the waist, this was the result. Oh my goodness, I LOVE it!

In fact, I loved it so much, I made another one.

And then I made another one. The colour of this one is more accurate in the photo of me wearing it!

The skirts are really comfy to wear and I'm really happy with all of them. The first and the third one are made using fabrics I bought in Canada last summer and the black floral one is fabric Jo gave me for my birthday.

A month of fun sewing again for me. 😊

Wednesday, 13 May 2026

April - the month of the blouse!

April was definitely the month of the blouse for me! I started with two versions of the Gilbert blouse by Helen's closet. I've made this blouse a couple of times before so I decided it was time to use it again.

First I used a pink and white stripe which reminded me of the bags you used to get sweeties in! Fun!

And the other was a piece of fabric I picked up at the crafter's destash last year. I think it cost me £1! Not too shabby!

The next blouse I made was the Monty by Style Arc. I have made quite a lot of the Monty blouse before and I will continue to make them as they're so comfortable! This version is made from one side of a downie cover I got in Asda's sale last year. Watch out for another blouse made from the other side of the downie - coming soon!

The next blouse is from my absolute favourite blouse pattern, McCalls's 5359 - long out of print! This is a lovely polyester fabric I bought in Canada last year. The absolute best thing about this blouse is it doesn't need ironed! Another reason I keep reaching for it! LOL

The last in my April blouse collection is the Rivi blouse from Chalk and Notch. I saw someone wearing this on a youtube video and just had to search for it and then make it. I just LOVE how the pattern is cut out following the stripes on the front and back yokes. So clever! I also made my sleeves with their stripes going horizontally instead of vertically as I knew it would annoy me a lot that the stripes wouldn't match up at the shoulder seams. While I was at it, I also made the stripes on the button bands go horizontally too. The blouse is really comfy to wear and I have plans to make more of this pattern really soon.

Here's the back. Aren't those stripes fab??

Next I decided to make myself a small bag. I wanted one that pretty much only held my purse and my phone and a hanky! I have had this cross body zipped bag pattern from SewgirlintheUK in my stash for a good few years and decided it was time to try it out. I worried that the seams inside were only overlocked - ie not hidden - but then I realised the only person who would know that was me and it wasn't worth worrying about! I LOVE this wee bag and have used it a lot when I don't need to carry much stuff around.

Douglas asked me if I could cover the old stool he used in the greenhouse as it was really starting to show its age. I used an offcut of the same denim I'd used for the bag above. It worked out well!

Lastly, Jo asked me if I could make labels for her floor turtles that I made her last month. I decided to just do them on my sewing machine rather than my embroidery machine. Each one is sewn in the colour of the patchwork top of the turtle. Fun stuff!

I'll be back with more blouses in my May post. See you then! 😊

Thursday, 16 April 2026

2 quilts and 4 turtles!

I made 2 quilts and 4 turtles in March. Weird, I know, but let me explain!

First I had quite a few 12½" squares in my odd blocks box so I got them out, worked out how many more I'd need to make a quilt and got to it. I used a green sheet for the sashings and binding and some yellow squares for the cornerstones. This is the resulting quilt. A real hodge podge but that makes it more interesting to me!

I didn't have enough of one fleece for the back so just joined 2 pieces of different fleeces together. It used up odd bits and is just as cosy, if not more so, than if it had only been one piece! More scraps used up - of fleece and of fabric! Yay!

Now, the story of the turtles. Jo asked me if I could make her a floor turtle. "A what", says I? Apparently, it's a circle of towelling on the bottom with either plain fabric or patchwork on the top with legs, a head and a tail. You put it on the fllor, stand on it (with one foot) and wipe up any spills or wet doggy paw prints without having to bend down. I looked at the photo of the one she showed me and decided that I could most definitely make her one. So I did! My hand is their for size reference!

Of course, one is never enough so I made another ...

... and another ...

... and another. I decided that 4 would do for now. Thankfully, Jo likes them - and uses them regularly! Yay! More scraps used up - this time of fabrics and old towels! Yay!!

Next, I decided I wanted to make another scrap quilt like the one I showed in this post. This time I used a rust sheet for the centre strip of each block and the sashings and binding. I quilted it using the QAYG (quilt as you go) method which allegedly takes less time than quilting the "normal" way but, you know, I am not convinced that's true. Anyway, no matter, the quilt turned out very well, in my humble opinion!

On the back, I used up some 8" squares I had in my stash. I didn't have enough of the rust sheet left so I used the rest of the green sheet I'd used in the first quilt for the back sashings. I love the back too!

So that's even more scraps used up and the 2 sheets I used for the sashings and lots of little bits of bump for each block's quilt sandwich. Yay!

I am delighted with all the makes most especially because I used a LOT of scraps! Still plenty more to go but that's part of the fun of my hobby! 😊

Saturday, 14 March 2026

February's makes

I started the month with a quilt finish. This is the "square in a square" block which is one of my favourites to make. The centre squares of each block are 4½" squares and each finished block in the quilt measures 9½" which means it came together quite quickly.

For the backing, I joined 2 navy starry fleeces together which makes the quilt lovely and soft and cosy.

As it was coming up to Emily's 9th birthday (!!) and there would be a box winging its way to Canada, I thought I'd better get my act together and sew the mini quilts which the girls had drawn when we were visiting last July. This is Emily's drawing:

I added another row to the top and bottom to make it a square and then made it up using 2½" squares. OMG, I LOVE it!

I wrote a simple label on the back using a laundry marker.

Isla's drawing was slightly different. It started off (in the centre) as a trip around the world but I think she got bored at the idea of colouring all the squares and deviated from that plan.

I used strips instead of lots of tiny square - I would have had to use 1½" squares to get it to be the right size and that was just not going to happen. OMG, I LOVE this one too!

And the label on Isla's.

The girls have the quilts now and they love them too. Yay! There was talk that they might do some more designing. Bring it on!

Monday, 2 February 2026

what I made in January

I sewed and sewed and sewed in January but I only have one thing to show for it.

Basically, I sewed a huge amount of scraps together, added some black sashings in an unusual way, quilted it, bound it, labelled it and called it done. I've explained it in just a few words but it took me ages to sew because I had to figure out how to make it so that I could get the black bits to match up properly. I personally think it's fabulous but then I might be slightly biased! 😃

Here's the quilt:

The back is the last of the grey squiggly fleeces I bought in the Asda sale a couple of years ago. I'm sad that they're finished - I'm keeping my eyes open for more bargains like those!

I quilted this on the black sashings using the serpentine stitch on my sewing machine using a rainbow coloured thread on the top and in the bobbin. It stands out so well against the black.

The best thing about this quilt is I managed to use up a lot of scraps - but not nearly as many as I hoped I would! Even more importantly, I enjoyed myself. Isn't that why we do hobbies? If not, it should be!!

Needless to say, I'm already knee-deep in another quilt and hope to get that finished soon.

Monday, 29 December 2025

the last post of the year

As Christmas is now over, I can show Jo's diary cover which I made for her this year. I embroidered the design on my embroidery machine. She actually laughed out loud on Christmas Day when she opened it. It made me smile too! This is the front:

This is the inside which, sadly, isn't seen unless you take the cover off!

And the back.

I used to have such trouble getting the covers to fit well but these days, I buy the exact same make of diary every year - obviously one year on from the previous year!! - and then I know that the cover will be the same size every time.

Our next door neighbours had a baby girl at the end of November so, naturally, I made her a quilt. I'm really happy with how it turned out. All those wonky triangles just make me smile!

The back is one side of a downie cover bought in the sales at the end of summer. That's quite a quick turnaround for me to have used it already!

My next project was to make myself a dress to wear for Christmas Day. I decided to use McCall's 8553.

I am not scared/wary/terrified of zips in the slightest but this one nearly broke me. I was so close to just throwing the whole thing in the bucket but I didn't. In the end, I decided to ignore the pattern's instructions for the zip and did it the way I thought it should be done and that made all the difference. By the way, the pattern tells you to use a metal zip and to cut off the ends to make it fit. No way was I doing that! I used a normal plastic zip and it worked just fine!

I'm so glad I persevered. I LOVE this dress! (As usual, my facial expression is just silly! 🤣)

It was so comfy to wear on Christmas Day - no tight waistbands to worry about! LOL

Jo got a kit to make a "gingerbread house" out of chocolate. We had so much fun sticking it all together with melted chocolate. We've made a few real gingerbread houses over the years and they've never gone together as well as this one did!

And demolishing it a few days later was fun too! Nom nom nom! 🤣

This was the last thing I made this year. I have so many tree wallhangings that I've decided it's my thing. You know, some people collect frogs or pigs or whatever. I make tree hangings! That's okay, I enjoy doing it and there's plenty of wall space to hang them! 🤣

So, that's 2025 nearly over. See you in 2026!